Creating your first Fill & Sign Document
To start, go to your Fill & Sign Documents. That page will list your current Fill & Sign Documents.

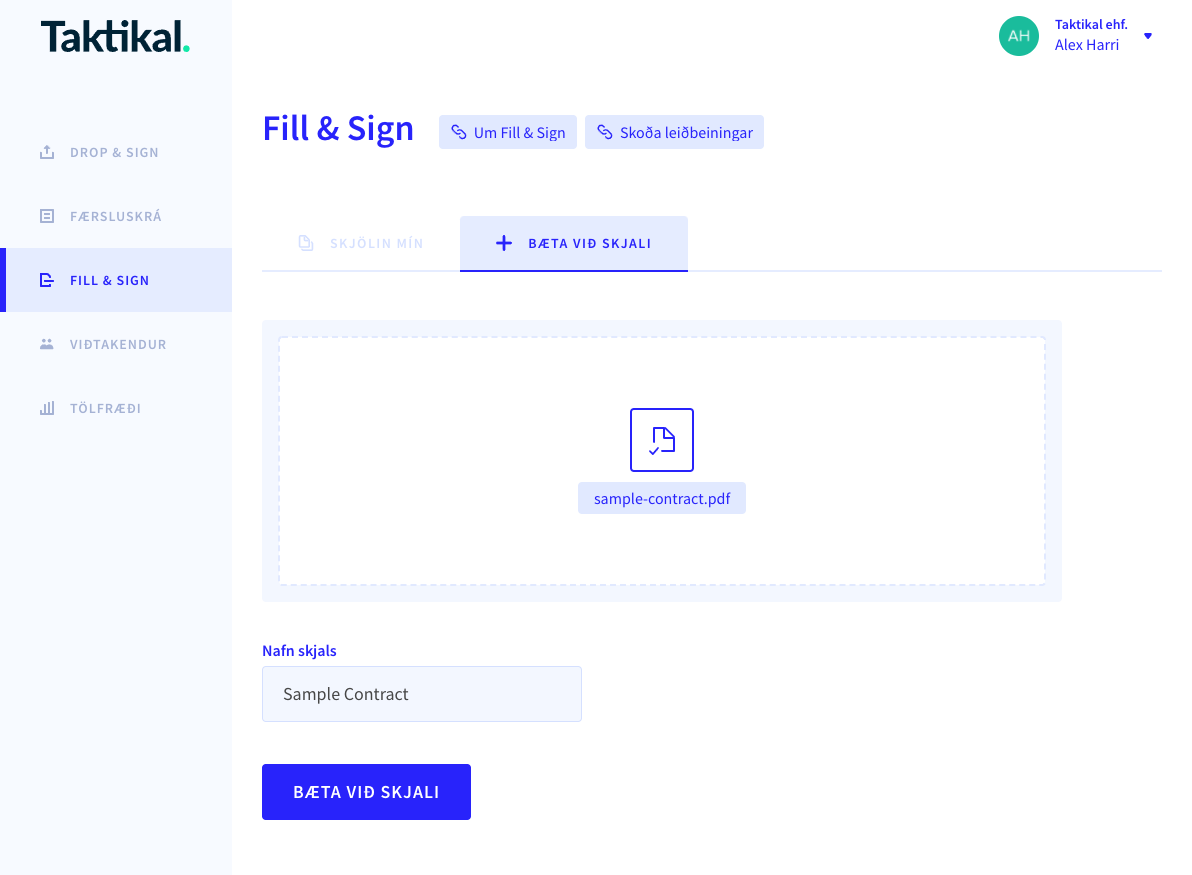
To create a new document, go to the "Create new Document" tab.
Then add the PDF you want to use for the Fill & Sign Document and give it a name.

After it's been created, you should see a success notification appear in the top-right corner. Go back to Fill & Sign Documents and you should see it there.
Click the newly created Fill & Sign Document to open it in the Fill & Sign Editor.
We can now move onto Setting up your first Fill & Sign Document.